Android devices offer many features to enhance user experience, and one of these features is Guided Access. Guided Access on Android is a powerful tool that allows users to restrict the use of their Android devices to a single application, providing a focused and controlled environment. This guide will walk you through the simple steps to enable Guided Access on your Android device.
What is Guided Access on IOs?
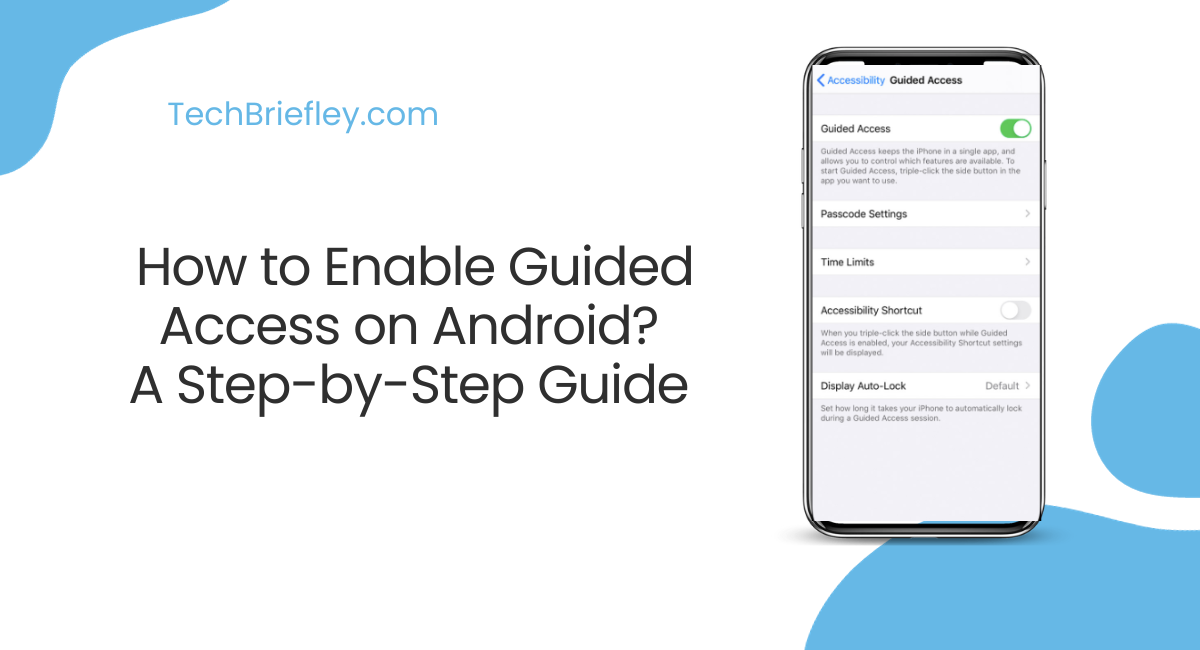
Guided Access is a feature on iOS devices that allows users to limit their device to a single application, control hardware button functionality, set time limits, and restrict touch input in specific areas of the screen, promoting focused and controlled device usage.
What is Android screen pinning?
Android screen pinning is a security feature designed to enhance privacy and control when sharing your device. Once activated, users can “pin” a specific app, restricting access to that app alone. This prevents others from navigating to different apps or areas of the device, ensuring privacy and focusing attention on a particular task or content.
To exit the pinned app, users typically need to perform a specific action, such as a combination of buttons and may need to provide authentication. Screen pinning is particularly useful when sharing your device temporarily, allowing others to use it for a specific purpose without granting access to your entire device.
Also Read: Tips to Improve Your Smartphone Battery Life
How to Enable Guided Access on Android?
Step 1: Accessing Settings
To initiate the process, unlock your Android device and navigate to the Settings app. The Settings app is usually represented by a gear icon and can be found on your home screen or in the app drawer.

Step 2: Open Security
Once you are in the Settings menu, scroll down until you find the “Security” section. Tap on it to access the security-related settings. From there, locate and tap on “App Pinning.”

Step 3: Enable App Pinning
After clicking on the “Security” option you will forwarded to a new list. Slide down the list until you find the “App pinning” option then Click on “App pinning”.

Step 4: Turning on the App pinning
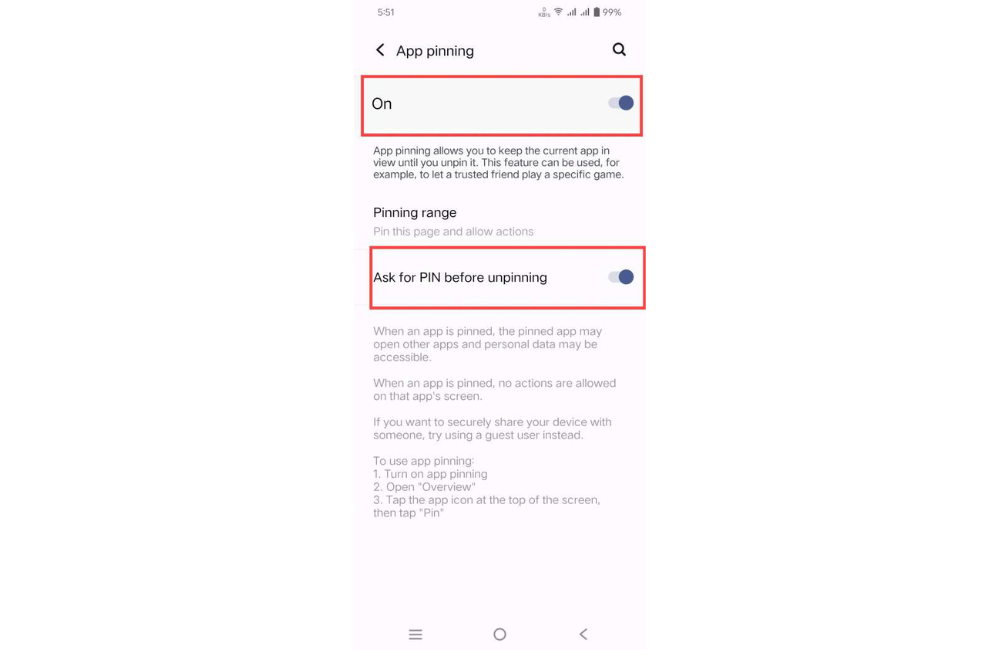
After selecting App pinning, you will see a toggle switch at the top of the screen. Slide the switch to the “On” position to enable App pinning.

Step 5: Set Up a PIN
To ensure security and control over Guided Access, you will be prompted to set up a PIN. Enter a PIN that you can easily remember but is not easily guessable by others. Confirm the PIN to proceed.

Conclusion:
Enabling Guided Access Android provides a valuable tool for controlling and limiting access to specific applications. Whether you want to create a focused learning environment or restrict access to certain apps for privacy reasons, Guided Access is a versatile feature that can be easily set up and customized to meet your needs. By following these step-by-step instructions, you can utilize the power of Android-guided access on your device efficiently.

